First Setup of my Website
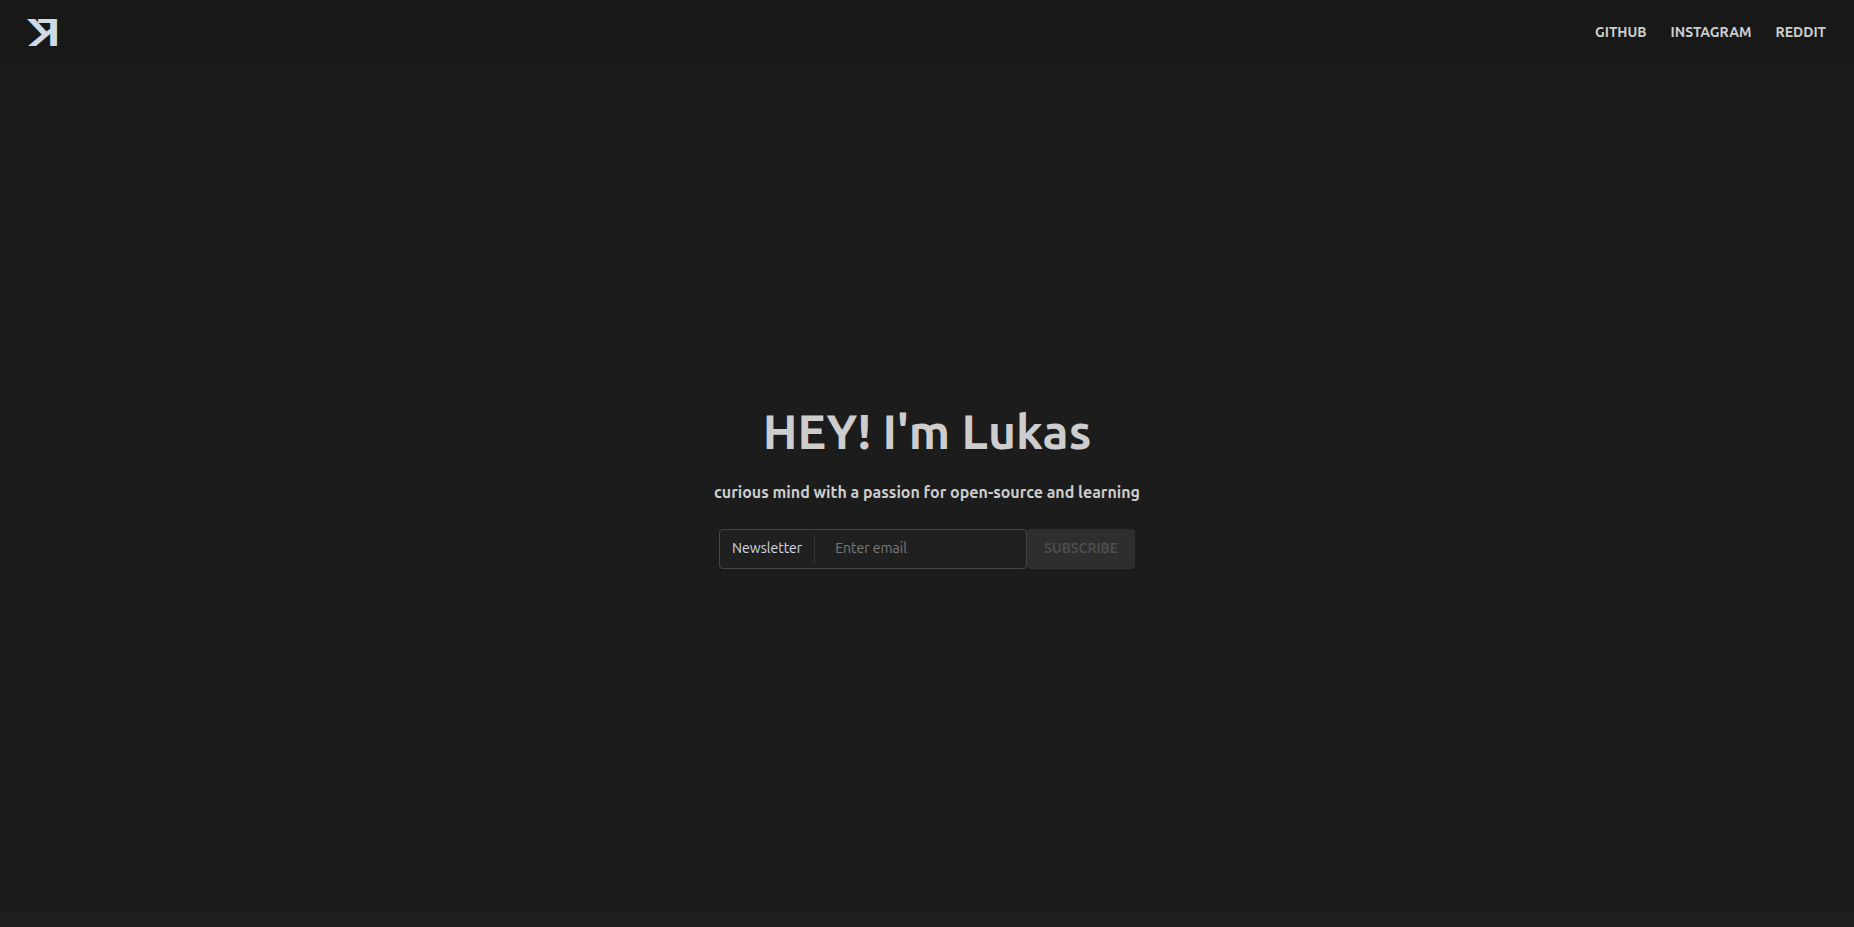
My first website had absolutely no features. It was just a landing page, with nav bar
for my socials and form to register for my newsletter (the newsletter got removed with the next release).
There was no blog. There were not many requirements defined what framework to use
to build my frontend. I just wanted to have server-side rendering and for the
beginning I wanted to start with static file hosting because deployment
is much easier.
So I decided to build with sveltekit.
I tried to at least build some responsiveness into the design. But I will soon realize that responsive design is much more pain.

The final deployment described in this blog post is illustrated in the following image.

Sveltekit Frontend
In the past I used react and nextjs for small projects. But I decided
I would like to check out something new. My frontend skills are really
limited. I can’t tell you why I do not like react. It’s just
a feeling that svelte feels better and fresher.
I researched some component libraries because my css skills are really
limited. I built one project with flowbite but I did not like themes. This is why I researched more and found daisyUI. In the past I always used tailwind CSS for styling, so I liked the integration of daisyUI into tailwind.
Hosting with Caddy
I wanted to make sure that I’m able to host multiple websites on the same
virtual machine. Another problem I needed to solve was hosting static files.
An the most important one was certificate management. This is why caddy came into play. I always hated nginx and apache. The feeling
wasn’t good when I tried them out. But caddy changed everything.
I’m not sure how I found out about caddy. But it was love on first sight. I loved the website, I loved the feature set, I loved the simple configuration. I was stunned, that I haven’t heard about that software earlier. All problems I had with alternatives.
I started with caddy with their docker-compose deployment. The initial setup
was really easy. My first examples on my local machine used only http without
any certificate.
http://localhost:2020 {
 respond "Hello from example" 200
}
After this i switched configuring caddy on my virtual machine with public IP. Then I was able to setup https as easy as this:
lukaskarel.at {
 respond "Hello from Lukas" 200
}
THIS WAS ALL TO CONFIGURE A HTTPS ENDPOINT. My DNS and virtual machine was
configured using opentofu. Then just this 3 lines and caddy automatically added a certificate using ACME.
I don’t have to worry about outdated certificates anymore. It just works.
Then I did some more testing with basic auth to secure some paths and binding URLs
just on specific interfaces. I just tried some things because I was thinking about
integrating a newsletter with listmonk.
The Newsletter Integration
I thought that I need some way to interact with my userbase. I can’t explain today, why I thought: “I need a newsletter”. I have completely forgotten about social media when planning this. I removed everything about this section in the next release. But I want to be fully transparent that I did some mistake and increased complexity without the need. Just because I wanted to learn something new and build something more demanding than just a frontend with static files. Not because there were any requirements on this. Just because my ego told me: DO MORE.
Because it was removed with the next release I will talk about technical details. I just want to share my thinking process when setting everything up.
Listmonk
I searched some time for a nice integration of a newsletter into my website.
I also did some research with LLMs. I did not want to pay for that service.
Because I want to keep it as cheap at the beginning as possible for myself.
This is when I found listmonk.
I then used again docker-compose to easily setup it up. I read about
Data Privacy in the EU requires double-opt-in.
But listmonk already supports this.
So it can be easily integrated by connecting with SMTP with your mail provider.
Then I created an account on my (not self-hosted)
mail provider and realized there are constraints for maximum mails per day.
This is when I realized there is more to do than just spinning up a listmonk instance.
Of course I wasn’t delusional and thought I will reach that 2000 mail per day limit.
But it did not know this was something to think about.
Then i found about mail bounces and understood why it is common to just subscribe to a mail provider. It is not that hard to set everything up. But to maintain and prevent malicious or spam mails is more work than I expected. Paid mail provider can’t only be access with SMTP but also with an API and this simplifies these processes.
To reduce the attack vector and prevent spam with my mail I implemented a python API that is called by my frontend when a user wants to sign up for the newsletter.
Python API
I read about prevention of bots and fake mails for newsletter forms. listmonk hosts it own forms for users to sign up/edit/block newsletters.
But I wanted to make sure that the sign up prevents bots from signing up.
I used python with FastAPI to implement the API. I did not much development with python in the past but I thought it will be easy to set up an API. And it was easy to setup. And using the listmonk python client it was really easily to integrate it into the application. So I did some research on how to setup a newsletter form.
I created a form with a mail as required input and an honeypot input. The honeypot is for indication if a form was auto filled by a bot. This value needs to stay empty otherwise the API wont accept the request. If a user registered a POST request ist sent to my API. But the request must also requires a token that is generated (current timestmap) and signed by my API. The frontend loads that token intially and performs refreshing automatically.
Only if that token is not outdated, not too fresh (too prevent spam), the honeypot is empty and a valid email was submitted a new mail was created for listmonk. Then the user had to confirm the registration by clicking the link in the mail. Then the user was ready for receiving mails from me.
The form can be seen in the next code snippet. I did not add the javascript code. This can be found in the public mirror of my github repository.
<form
    class="flex flex-col lg:flex-row gap-1 lg:gap-0"
    onsubmit={handleSubmit}
  >
    <label class="input focus-within:outline-0">
      <span class="label text-primary-content">Newsletter</span>
      <input
        type="email"
        name="email"
        placeholder="Enter email"
        bind:value={mail}
        autocomplete="email"
        id="email"
      />
    </label>
    <input
      type="text"
      class="hidden"
      name="name"
      bind:value={address}
    />
    <button
      class="btn btn-secondary uppercase"
      disabled={!emailSchema.safeParse(mail).success ||
        subscribe_triggered}>Subscribe</button
    >
</form>
But I was still concerned of spam. This is why I added rate limiting into caddy with the first plugin I installed.
Caddy Adaptions for rate limiting
As I realized I need to host multiple applications and need to version them independently, I installed docker on my virtual machine. This is when I moved my caddy into docker as well. I created a docker network that all services can easily connect to. So I can easily seperate my container. This created much complexity…
I wanted to use the rate limiting plugin. Because otherwise one user could register an enormous amount of mails. I did want to prevent this. So I created a DockerFile to create a build with the plugin. EASY setup.
FROM caddy:2.10-builder AS builder
RUN xcaddy build
--with github.com/mholt/caddy-ratelimit
FROM caddy:2.10
COPY /usr/bin/caddy /usr/bin/caddyWhat I forgot is, docker networking. I bound port 443/tcp and 80/tcp on my host machine for port forwarding
All requests coming to my caddy in a docker container,
had the same src ip address. I used the follwing config to set up rate limiting of my
subscription endpoint. With forwarding requests to my python API or serving static files.
lukaskarel.at {

    rate_limit {
        zone dynamic_example {
            match {
                path /api/newsletter/subscribe
            }
            key    {client_ip}
            events 5
            window 1h
        }
    }

    # newsletter api forwarding
    route /api/newsletter/* {
        reverse_proxy {{NEWSLETTER_API_PROXY_HOST}}
    }

    root * /srv/sites/lukaskarelat
    file_server

 # Serve 404.html for any missing file
 handle_errors {
  @notFound {
   expression {http.error.status_code} == 404
  }
  rewrite @notFound /404.html
  file_server
 }
}
But then I realized after 5 requests all requests to subscribe are blocked. After some debugging with logs I realized each request had the same source ip. So I had to add another caddy instance as service without docker on my virtual machine. I use ansible to install the caddy systemd instance on the host and deploying the docker-compose stack with network and caddy as container.
I need to define all hostnames I want to support in my caddy systemd instance.
This is required because only the systemd caddy is reachable over https.
Therefore it needs to generate all certificates. I did this with a jinja template because I use ansible for deployment of the systemd caddy.
{% for domain in allowed_domain_names %}

{{domain}} {

    reverse_proxy localhost:10000
}

{% endfor %}
The docker caddy instance is bound on port 10000/tcp and receives http only traffic.
The docker caddy instance than just requires to trust the other proxy.
The systemd proxy adds some HTTP Headers for the docker caddy. So the docker
caddy can extract information like the Real-IP of the client that requested
the resource. Without trusting the systemd caddy the http headers would not be examined.
If we would trust all proxies everybody could send you forged requests with custom ip
addresses in the http headers.
Trusting a proxy can be achieved in the global configuration of the caddy config. This config in the docker caddy tells that all proxyies in private IP ranges are trusted.
{
    servers {
        trusted_proxies static private_ranges
    }
}
Then finally the rate limiting worked on a per user basis.
Postgres Backups
Another problem that I did not thought about before, was managing a postgres instance. listmonk requires some strorage to save users, emails, metrics and campaings.
Setting up a postgres with docker was not a big problem. I just deployed my postgres
stack with ansible. The docker compose stack contains the database container and a network used
by other containers to connect to database.
Another benefit of deploying with ansible is, i can manage the databases, users and potentially groups with the same script. I can easily add new databases and users. And if I want to replicate a deployment I just need to adapt some configs (or use the same) and have the exact same deployment again. I’m really in love with ansible and opentofu.
Backups are the real struggle. I thought really long about how to manage the backups.
I did research multiple concepts, checked out barman until
I decided I have to keep it simple. I created a script that runs
once a day and stores backups on another block storage mounted into my
virtual machine. The second block storage was easily added into my opentofu deployment.
The script is installed with ansible as crontab. I created
a linux group and user to only allow specific users to write on the
backup directory.
The crontab creates a temporary docker container that is connected to the postgres network and mounts the backups volume. This removes the requirement from the host to install any postgres tools and I don’t have to think about versioning. Just use the same image as the database container and use the script as entry point.
The script is created as jinja template to easily adapt it using ansible and
my deployment. If I decide one day, that I wont use docker anymore
I just need to change postgres_backup_host and maybe postgres_backup_output_folder and can run it again. You will see that there is not password in the script.
The password is stored in the home directory of the backup user in the .pgpass file.
#!/bin/bash

# Configuration
DB_USER="{{ postgres_backup_user_name }}"
DB_HOST="{{ postgres_backup_host }}"
BACKUP_DIR="{{ postgres_backup_output_folder }}"
DATE=$(date +'%Y%m%d_%H%M%S')

# Retention policies
DAILY_RETENTION=7      # keep daily backups for 7 days
WEEKLY_RETENTION=30    # keep weekly backups for 30 days
MONTHLY_RETENTION=180  # keep monthly backups for 365 days

umask 007

# Ensure backup directories exist
mkdir -p "$BACKUP_DIR/daily"
mkdir -p "$BACKUP_DIR/weekly"
mkdir -p "$BACKUP_DIR/monthly"

# Backup each database individually
for DB in $(psql -U $DB_USER -d postgres -h $DB_HOST -t -c "SELECT datname FROM pg_database WHERE datistemplate = false;"); do
    pg_dump -U $DB_USER -d "$DB" -h $DB_HOST -F c -f "$BACKUP_DIR/daily/${DB}_$DATE.dump"
done

# Cleanup old daily backups
find "$BACKUP_DIR/daily" -type f -mtime +$DAILY_RETENTION -exec rm {} ;

# Weekly backup (every Sunday)
if [ $(date +%u) -eq 7 ]; then

    for f in "$BACKUP_DIR/daily/"*_*.dump; do
        cp "$f" "$BACKUP_DIR/weekly/"
    done

    # Cleanup old weekly backups
    find "$BACKUP_DIR/weekly" -type f -mtime +$WEEKLY_RETENTION -exec rm {} ;
fi

# completely backup (first day of month)
if [ $(date +%d) -eq 01 ]; then

    pg_dumpall -U $DB_USER -h $DB_HOST -f "$BACKUP_DIR/monthly/completedb__$DATE.sql"

    # Cleanup old monthly backups
    find "$BACKUP_DIR/monthly" -type f -mtime +$MONTHLY_RETENTION -exec rm {} ;
fi
Deployment with Github Actions
I really hate to do anything manual and more often then once. Thats why I invested time into learning github actions for the first time in my life.
Docker Images on Github
I knew that github has support for packages that are basically docker images. My journey started based on the Github tutorial.
I then needed to create multiple images that a linked to the same repository.
This was the first problem I had to solve.
I found out that github links an image based on a specific label of the image.
So i had to add following label: org.opencontainers.image.source=https://github.com/${{ github.repository }}
I created a reusable workflow that will be called multiple times for all images I wanted to build. I combined that with a filter, that checks if changes occured in a specific folder. I used path-filter action to detect changes. So my images are only rebuilt if I changed something.
The versioning can be done indepedently for each images based on a VERSION file.
So the version was encoded in that file. I thought about checking on PR if the VERSION file changed. But I decided I will do that later. That was a good
decision because I removed all docker in the next release.
I then also required to build a docker image for the python API. But I will not go deepter into this. I will just link to the sources I used.
Building static files using Sveltekit
After finalizing the complex setup of building docker images, i started into building
the static files using npm and sveltekit. And this was easy as f*ck and straight forward.
So I don’t want to get into details to much.
I just wanted to publish the static files into artifacts so I can add them later download them and add them to the release. I wanted to do that, so I can check the progress of my site. Hopefully I will see some kind of progress in the future.
Deploying
The most intense part was deploying to my virtual machine. I tought about using a self-hosted runner of github on the machine. But then I decided it is too much effort for one deployment of a site.
Then I digged deeper into concepts and wanted to create a secure environment. So I had to create a new user on the virtual machine only allowing access to specific folders. The user needs to deploy new docker-compose stacks, update the configuration of my caddy docker instance and access a folder to update the static files.
As I use ansible that was really easy to achieve. I generated a new SSH key (using 1password), added a new user and group on the machine and added the SSH public key to that user. In the github secrets of the repository I added the SSH private key.
The problem got bigger after I realized I have to login into the github image registry. So I needed to find out how I can login into the registry and how without leaking my password. The sources I used to learn on how to achieve this were
Then the main struggle began. Trying to create ONE package of the docker compose files, multiple static files (my website and listmonk), caddy configuration. Combined with managing environment variables (using github secrets) and github environments. This got completely out of hand and got way too complex. I wanted to combine the full deployment into one action. It worked but I realized this is already unmaintainable. I then thought about managing the deployment with ansible to simplify secret management at least. But this was the moment I decided that I will remove the docker deployment with the release of the blog.
Final Review
As I mentioned already multiple times in the post. I removed most of the complexity with the next release. This is also a spoiler to the next post. Hopefully the post covers the creation of the blogging stack. So I wrote THIS blog post AFTER I decided I will rework most of the current stack. But I wanted to keep the history clean and share my experience. Writing this blog post is like a review for myself. I had to rethink about some design choices and realized it was completely overengineered. Just because I wanted to build more than a static website. This was ego-driven development or I guess most people will know it as resume-driven development.
I did not solve any problem I have at the moment. I just thought I know what my future problems will be. But I have to be brutally honest with me. I have absolutely no idea what the future will bring. I just tried to be smarter. And I regret doing so. Hopefully I will understand in my future projects, that I should keep complexity out as long as possible.
Just because I wanted to add a newsletter, I had to add
- docker
- custom caddy-build for rate limiting
- 2 caddy instances because of docker networking
- a second block volume connected to the vm
- a database
- a backup scenario of the database
- more complexity in my github actions
This should be a reminder for the future. KEEP IT SIMPLE!
I liked the process because I learned many things about ansible, postgres, docker, caddy, SMTP, networking, github actions. But it was really time consuming for unnecessary features. The most funny thing I realized only after writing this post. My main reason why I wanted to use static files ONLY for the frontend was simple deployment. And I failed miserably.
Lukas
I removed a section, that I created a private DNS entry only for my
tailscale network that only traffic from the tailscale network
is able to access my listmonk admin pages. This required also some extension
of the caddyfile configuration. But the post was already too long.
Just to be fully transparent here. If you want to do something similar
checkout the jinja template